Text Effects (GIMP)
This tutorial will show you what kinds of effects you can add to text to make it "pop".
Adding effects to text in GIMP is actually quite simple. To start out, I just have black text on a white background.
Adding effects to text in GIMP is actually quite simple. To start out, I just have black text on a white background.
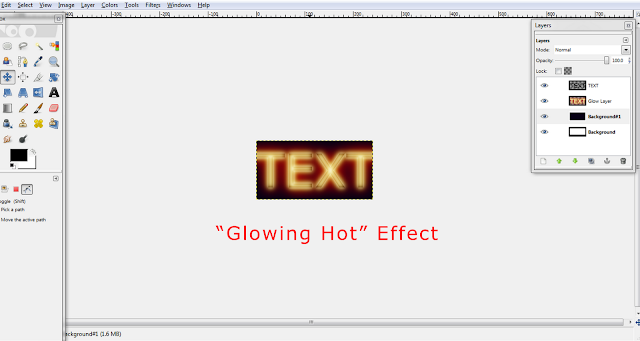
I found out that there are some pretty cool pre-made effects already in GIMP. To access them, go to the "Filters" menu in the bar at the top of the page and go down to "Alpha to Logo". Under that section there is a whole list of pretty cool effects. All you do is click on them. A box will pop up and you can adjust the settings how you want. I left everything on the defaults.
Here are a few of the effects:
"Glowing Hot"
"Glowing Hot"
"Alien Neon"
"Neon"
"Chrome"
"Frosty"
For some reason, when the effects are applied, it crops the image to just the text. If anyone knows how to correct this or why it does this, I'd like to know. 

Okay, now for a couple less dramatic, do-it-yourself, effects.
First I'll show you how to make a drop shadow behind the text.
Go to the "Filters" menu, choose "Light and Shadow", then choose "Drop Shadow".
A window will then pop up. I left everything on the default settings except for the Offset Y which I changed to 0.
This is what you get.
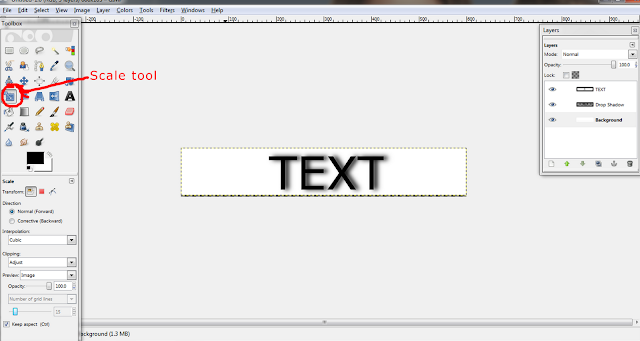
As you probably notice, part of the background is cut off. To fix this you can use the scale tool (above the paintbucket), click on the background and drag until it fills the full document again.
Another easy effect is called "Perspective". To access this, go to the "Filters" menu, choose "Light and Shadow", then choose "Perspective". A window will pop up. I left all the settings on default and clicked "OK".
This is what you get:
To me the shadow that is created it pretty sharp looking and I want it to look more blurred. To do this go to "Filter", "Blur", "Gaussian Blur". I changed the horizontal and vertical blur radius to 10px and clicked okay.
This is the result:
I like it but I want the shadow to be a little lighter so I lower the opacity (located at top of layers panel) to 50%. This is what you get:
Well, that is all that I have in terms of text effects for GIMP for now since I am still learning this stuff myself. Hopefully this helped you guys get started at least. 


No comments:
Post a Comment