
This
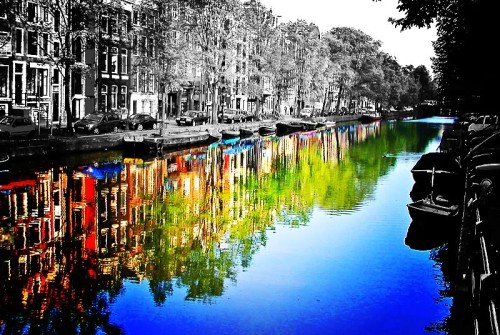
tutorial will show you how to make a black and white photo with a
"splash" of color in it. This technique can be used for modeling
competition entries and other types of edits. Here are some examples of
the color splash effect:

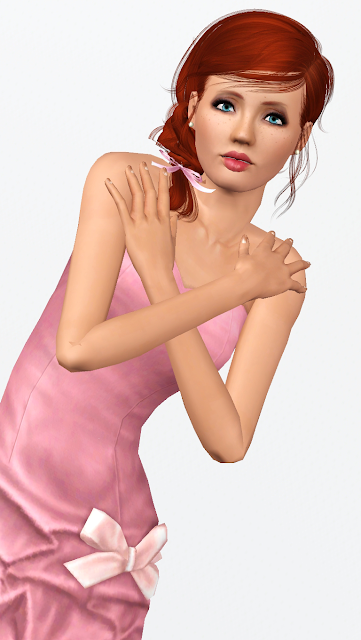
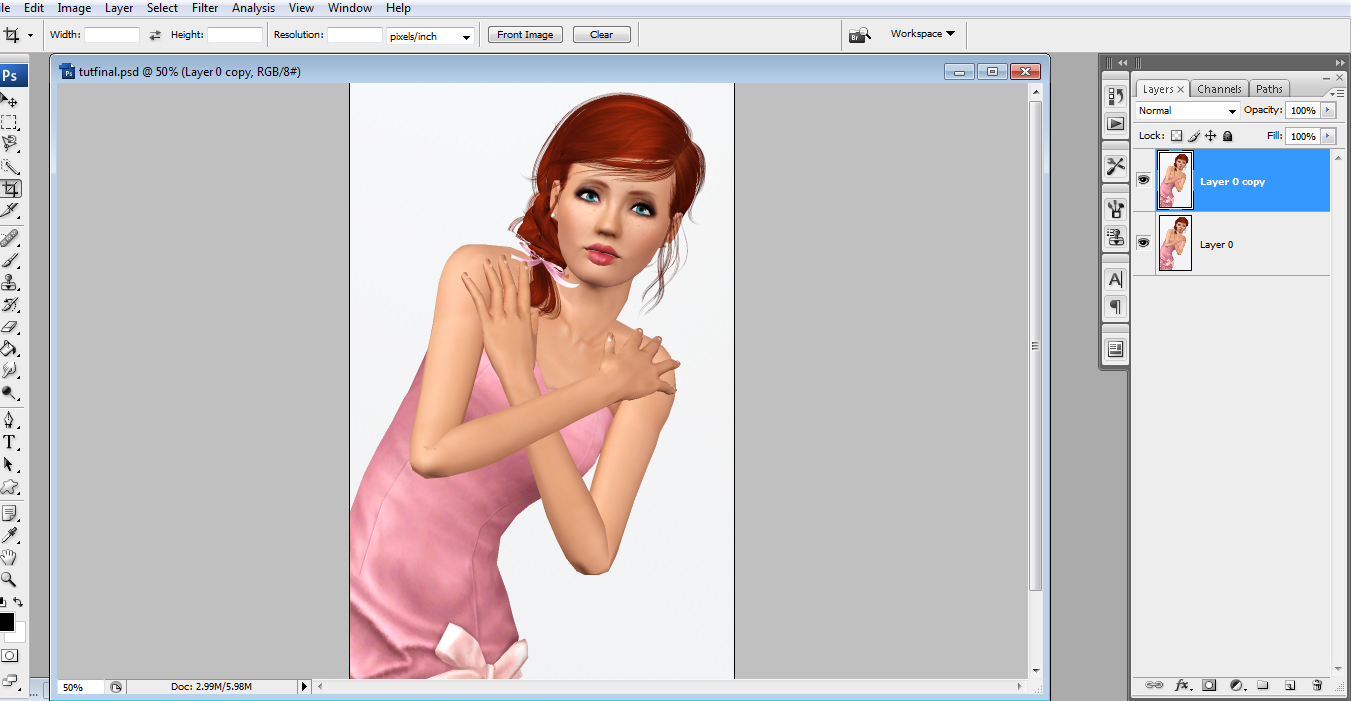
For this tutorial, I will be using
this photo of one of my models, Dana. If you would like to use this
photo for experimentation, you can find it here.
First, Open your photo in GIMP.

Next,
Duplicate the layer by right clicking on the layer in the palette and
choose "Duplicate Layer".
Now you are going to make your new layer black and white. To do this, go up to the "Colors" menu and then choose "Desaturate"
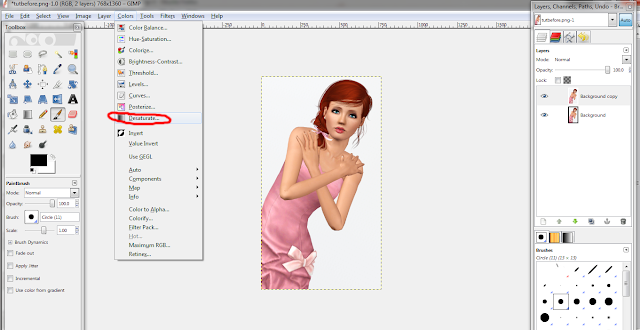

Now you are going to make your new layer black and white. To do this, go up to the "Colors" menu and then choose "Desaturate"

Now here is where you can choose
your method. One method is to take an eraser and erase over the areas
that you want colored. The other method, which I am going to use is
called a "layer mask".
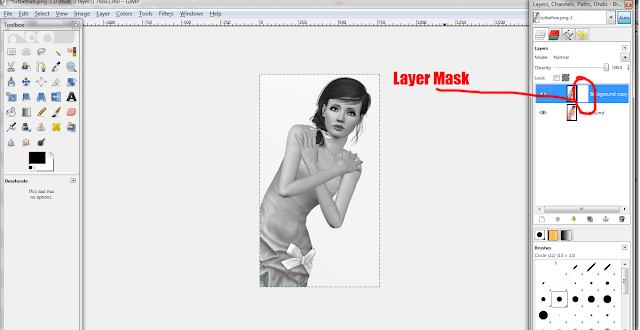
To
add a layer mask, make sure your black and white layer is selected, right click the layer and choose "Add Layer Mask". A box will pop up. There are many different options. For this tutorial, I chose the first option, "White (full opacity)". After
that is done, you will see a blank layer attached to your black
and white layer. Layer masks are used for many purposes and are good for
blending images together. When you paint with black on a layer mask, it
will hide the part of the image that it is attached to (like an eraser
but is easier to correct if you mess up). When you paint with white on a
layer mask, it will show areas that were hidden when the black was
used.


Now, to get the color splash effect,
click on the paintbrush tool. Choose the desired size brush, depending
on the size of your photo and adjust the hardness of the brush. The
higher the hardness is, the sharper the edge of the brush will be. For
this particular effect, I am going to choose a plain round brush.
With your layer mask selected, paint with black (#000000) over the areas that you want colored. As explained previously, the black simply hides those areas. Zoom in or out when needed. For this photo, I want her dress, lips and eyes to be in color so I painted over those areas.

With your layer mask selected, paint with black (#000000) over the areas that you want colored. As explained previously, the black simply hides those areas. Zoom in or out when needed. For this photo, I want her dress, lips and eyes to be in color so I painted over those areas.

If you erase too much, like I did below, go back over the area that was
mistakenly colored with white (#ffffff). If you were to use an eraser
instead of a layer mask, it is more difficult to correct these mistakes.

After all is said and done, your finished product should look like this.

And there you have it. If you have any questions, don't be afraid to ask :)

And there you have it. If you have any questions, don't be afraid to ask :)


