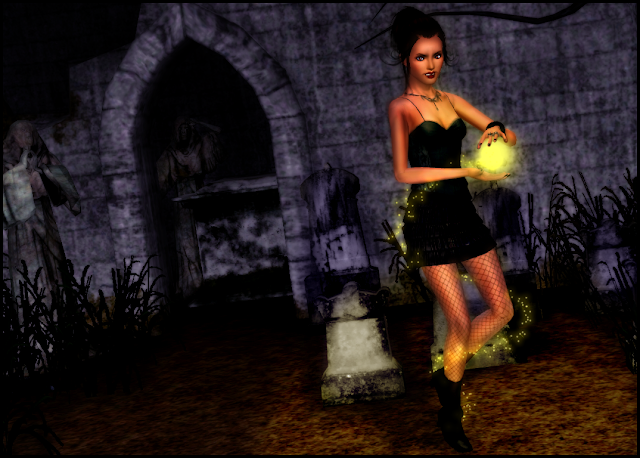
Hello everyone! This is the first of my
in-game tutorials. This will focus on lighting and basic camera angles.
The lighting portion will be broken into indoor and outdoor lighting :3 I apologize in advance for the quality of the photos. I had to take screencaps in windowed mode so they aren't the best quality >.<
Indoor Lighting
This part is, obviously, focusing on the indoor lighting.
First,
get an empty lot (or at least a lot with some extra space) and build a
room. It doesn't have to be a certain size, just big enough to fit your
sim and whatever you decide to use for your set.
For
this part of the tutorial, I'm going to use a plain background. This
will be helpful for if you want to take headshots/bodyshots for your
models.
Choose the third flooring option under the carpet (it is called "Simple Flooring") and cover the room with it.
Now click the icon that looks like a paint palette to change the color
and style of it. Choose the Misc. category and select the plain white
"pattern" (circled below).
To
change the background to pure white, drag the arrow all the way over to
the left. For a plain black background, drag the arrow all the way to
the right.
For
this tutorial, I'm going to stick with white. For the walls, choose the
one called "Flat Wall" and change the color/style the same way you did
the floor.
Now
to add the lights. To be able to access the lights, you need to use a
couple in-game cheats. Press Control-Shift-C to open the cheat bar. Type
in "testingcheatsenabled true" and press enter.
Now enter "buydebug on" to access the hidden objects where the lights are located.
A
special icon will appear in buy mode that looks like a question mark.
Click it, then go to the last category (the miscellaneous category).
This is where you will find the lights :)
Scroll
down until you see what looks to be blank icons but they are really
pictures of the lights. Choose the one that says "Circular Ceiling Area
Light 4x4". This is going to be your light for the ceilieng (obviously
:P). Place the light in the middle of the ceiling.
Now
scroll down in that section more, and you'll find more lights. Choose
the one that says "Wall Area Light 2x2". These will be used to light up
your model.
Place
them around the ceiling light so that they are angled towards the
center of the circle. I changed the angle of this photo so you can see
them better.
Add your sim in the area and adjust him/her so that they are completely lit.
Now you can use cameraman mode to zoom in on the model and make interesting camera angles.
Here are the controls for cameraman (also called movie making) mode:
Tab Key - enable movie making mode
Q or E - lower or raise camera height
Shift + A - roll camera counterclockwise
Shift + D - roll camera clockwise
Z or X - Zoom in or out
C- Take Photo
P- Pause
| This photo was taken by rotating the camera until the sim is completely horizontal. | |||||||||||||||||
 | |
This photo's angle was from rolling the camera clockwise.
This photo's angle was from rolling the camera counter-clockwise.

.
Outdoor Lighting
This part of the tutorial focuses on outdoor lighting.
As before, start with an empty lot.
As you can see, the outdoor lighting isn't all that great. My sim has a lot of shadow on her face and it looks uneven. That's why I made a tutorial for outdoor lighting.This section will teach you the trick to getting good outdoor lighting. This is because your sim will actually be indoors ;)
Make a room as shown in the indoor lighting section, but don't worry about adding paint to the wall since it won't be seen anyway.
Use the cheats as before if needed, and place the lights :)
In the photo below, I added some trees and rocks to the set. See the set building tutorial for tips.
In the photo below, I added some trees and rocks to the set. See the set building tutorial for tips.
One thing I will mention when it comes to outdoor sets is that for this method, put rocks or something in front of the part of the wall shown so that it will be out of sight in your picture (unless your photo won't be showing the ground). The photo below for example, has rocks and tress hiding the wall. On the left hand side of the photo, the wall can be seen so I would have to either hide it in-game, edit it so that it can't be seen (like cropping, for example) or tilt the camera so that the area is not seen.
This is the final product with the camera tilted to conceal the wall.
Here is it as a bodyshot.
These photos are directly from the game, no editing whatsoever.
Sorry it isn't highly in depth, but if you want clarification on something just ask :)


No comments:
Post a Comment