
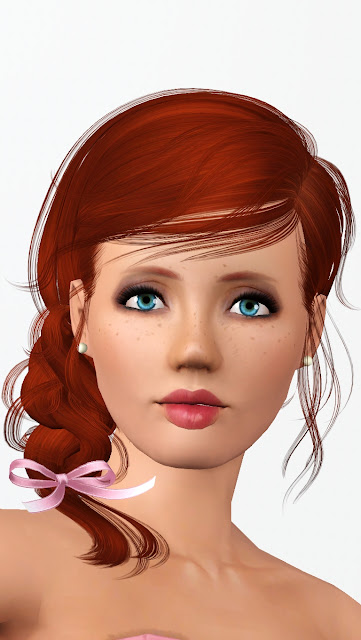
This tutorial shows my way of "drawing" eye makeup. Here is the photo that I am starting out with.

Create a new layer by clicking on the icon that looks like a piece of paper located at the bottom of the layers panel. When the box pops up, press okay.

On the new layer, you are going to place the eyelashes for the eye on the right. I'm choosing an upper eyelash brush (which can be found here) and pasting it close to the eye.
You can access the brushes by clicking on the brush icon in the
toolbox. I'm leaving it at the default size for now since I'm going to
resize it to fit the eye and put it into place in a minute.


Use the scale tool to resize the eyelashes. When you use the scale tool, a box will pop up. You can change the size if you know the exact dimensions that you want. In this case, you don't so you're going to click on the eyelash. A box will appear around it with squares on the corners. To resize the eyelashes, click and drag a corner inward to reduce the size. Hold control down to keep the proportions.

After you have it resized, use the move tool to move the lashes into place.

Duplicate the layer. Now we have a copy of the eyelash layer. To make it fit the eye, it needs to be flipped horizontally. To do this, click on the flip tool icon (circled below). Make sure the "horizontal" option is checked, and click on the eyelashes to flip it.Move that layer with the move tool over to the other eye. If you don't feel like duplicating the layer and flipping it, you can use the brush made for the other eye and follow the steps like you did for the right eye.


This step is optional, but something I like to do to add a little realism. Add a new layer just above the bottom layer. Take a soft, round brush, black in color, and draw lines along the top of the eyeball. I circled where I drew the lines since they are difficult to see.


Now, go to the "Filters" menu on the top menu bar and choose Blur>Gaussian Blur. I set the blur level to 8 pixels for both the horizontal and vertical radii. Your settings may need to be different depending on the size of the photo. Click Ok.


This is what it looks like afterwards. This step makes it look like there is a shadow on the eye, and makes it look rounder and more realistic.

I went ahead and did the same thing with the bottom lids (adding lashes and shadow). This is the result.

Now, we're going to add eye shadow. There are several ways to do it, but this is an easy way to do it. Take a medium-sized, soft, round brush, any color and draw lines on the eye lids where the eyeshadow will go.


We are going to blur this like we did with the shadow, using the Gaussian blur. I had my settings at 20 pixels for both the vertical and horizontal radii. Again, your settings may vary. Click Ok.

Now change the blending mode to "Multiply" to make it look like it is covering the lids but not so much that it looks fake. You could use the "Overlay" mode if you prefer that instead.

Now, we're going to add a little black along the edge of the eyelid to give it a smoky look. Do the same thing you did with the eyeshadow but with a smaller brush and (probably) a smaller blur. I circled the area where you should put it.

 This is the result.
And you're done. Feel free to erase some of the makeup to make it fit the eyelid better. I know mine is a bit off. As always, I'd be happy to answer any questions or help you guys out if you get stuck. :)
Before:
After:

nice information and my best regards Smokey Eye Makeup
ReplyDelete